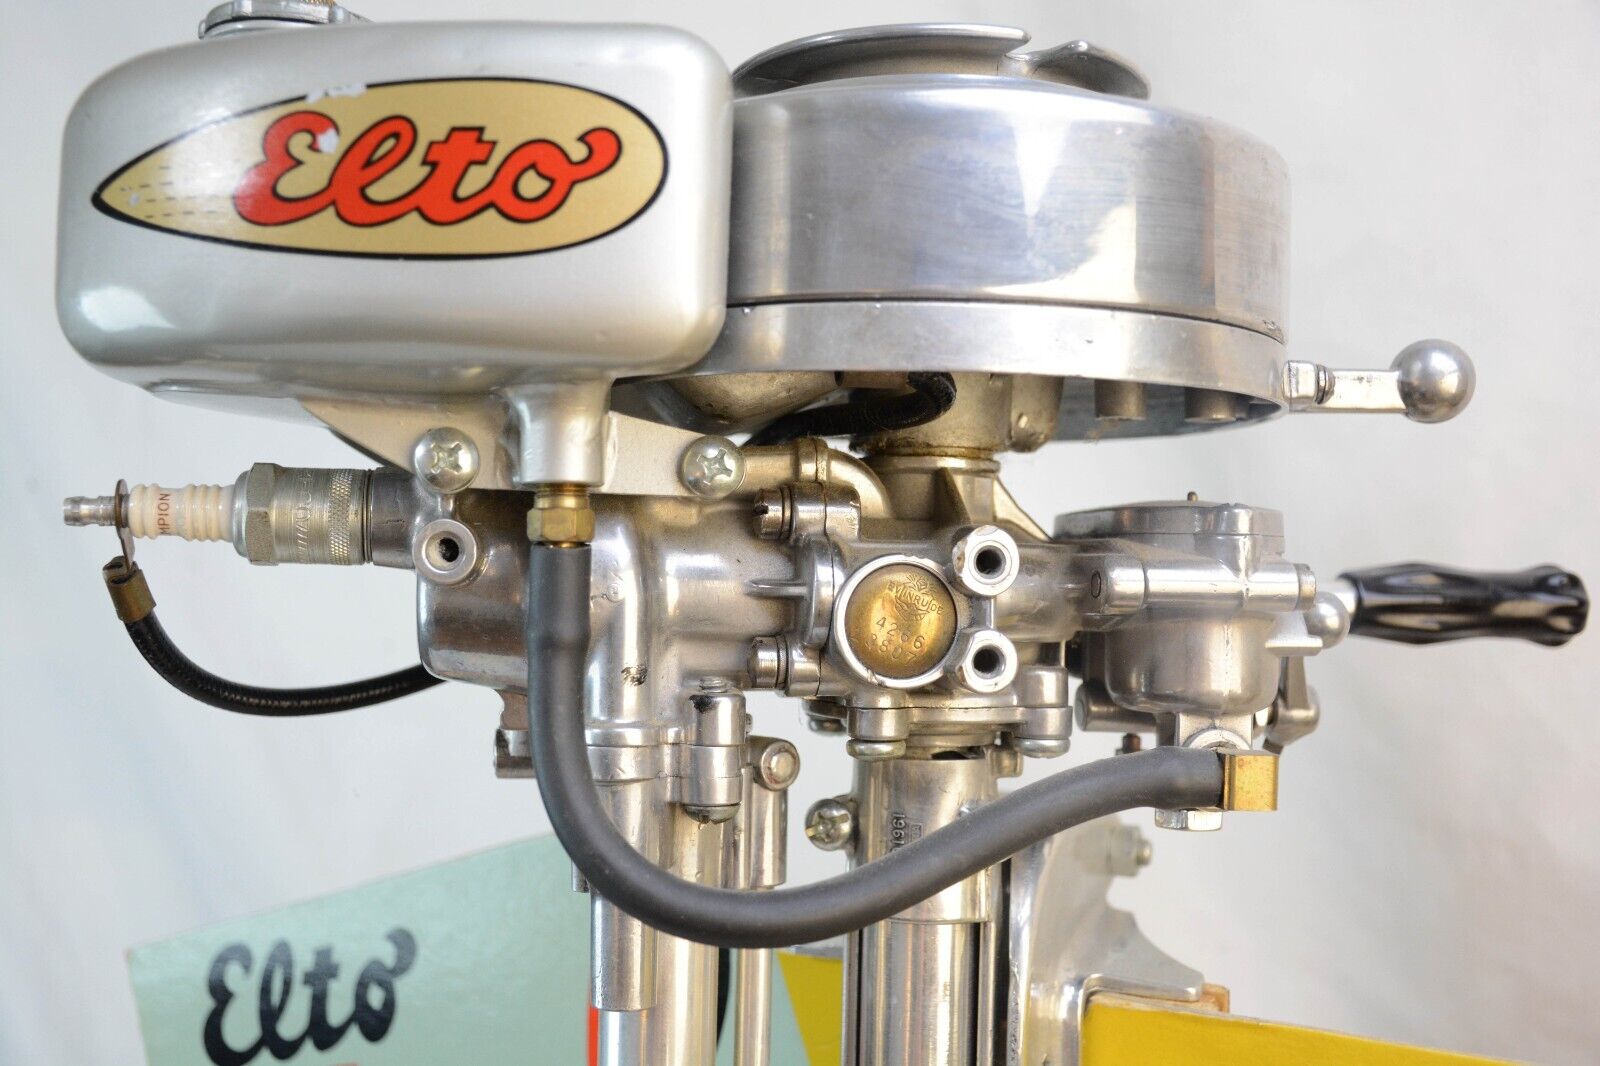
Reviving a 1938 Elto Pal 1.1 hp Outboard Motor
 |
Reviving a 1938 Elto Pal 1.1 hp Outboard Motor |
One thing that I want to convey here is that I write only on motors that I have actually worked on, which overs a period of MANY years, consisting of many THOUSANDS of hours, and then more in maintaining/updating these articles. They are motor specific, HOWEVER if you are having a diagnosis issue, my Trouble Shooting article covers MANY more aspects that may help you diagnose your issue. CLICK HERE for access to that article.
This series of motors, (the Eltos) were at one time the second grade of Evinrude, (the Scout, Pal, and Ranger) were introduced in 1936 and dropped in 1941. Initially this HP was .9, but later upped to 1.1 HP. This series of motors were what Muncie Gear Works revived as their Mighty-Mite motors.
This particular motor had seen a lot of neglect, even just prior to me getting it, being inundated in a flood of over 4' of muddy water and then just sat in a barn for another 15 years. The owner apparently had washed the outside off with a high pressure garden hose, BUT under the flywheel, I wound LOTS of fine, dried silt.
There were numerous screws seized, like in the carburetor top and connecting rod caps. The rod cap screws head was on top (toward the piston) and close enough to the piston that you cannot get enough leverage without removing the wrist pin and taking the piston of the connecting rod. And the screw slots in the rod cap were wallowed out enough that it was hard to get a good grip. Penetrating oil and heat was needed repeatedly.
Statistics For These Motors :
These motors develop 1.1 hp @ 3750 RPM
Cylinders
1
Bore diameter
1.363"
Stroke 1.400"
Displacement
15 CI
Bearings- bronze bushings, both mains & rod
Carburetor - Poppet Valve style with Evinrude tickler type choke
High speed jet -- Adjustable
Fuel capacity.
Fuel mix is Oil 1/3 pt. (22 :1) SAE-40 per Gal
Ignition - Evinrude Magneto
Point gap is .020"
Plug gap .035", Champion J8 spark plug.
Flywheel key - Woodruff .152" (5/32") wide x .?" thick x .812" long
Flywheel nut - 7/16" NF, -- 3/4" wrench size
Water Cooled - Centrifugal pump
Gear Ratio - ----- - waterproof gear grease
Prop. dia. & pitch- 2 Blade, LH, 6" x ?"
Shear Pin - 1/8" X 1.00" OAL, along with a rubber shock absorber hub in prop
Prop nut retainer pin - 3/32" X 1 1/4" cotter pin
Weight - 14#
The cylinder and piston walls were in great shape, however it appeared that the rings did not have a lot of tension. Rings (2) to the piston, .090" wide. Wrist pin .372 dia.
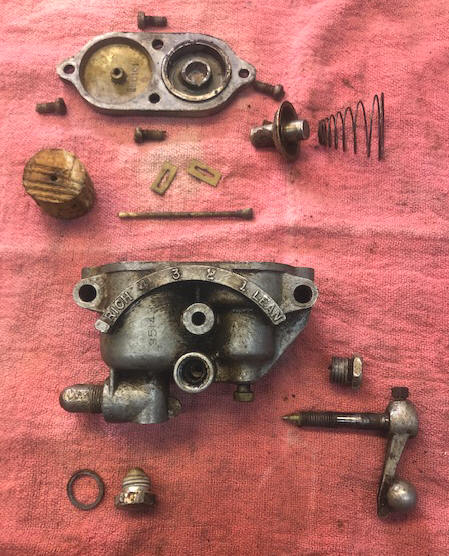
The Carburetor float is unvarnished cork, 1.00 diameter X 3/4" wide.
This motor has a separate water pee exhaust, not into the exhaust tube to cool.
General Observances : The one thing that was hard to find was good original photos, so that I could repaint it back to original. It seems that owners appear to like to embellish their motors by polishing the metal and painting the gas tank bright colors. This one has what appears to be original, a dull red gas tank and flywheel, with all the rest a dull aluminum color. Replacement decals are available.
Power Head : This one was not seized up as you would expect, knowing what it went through.
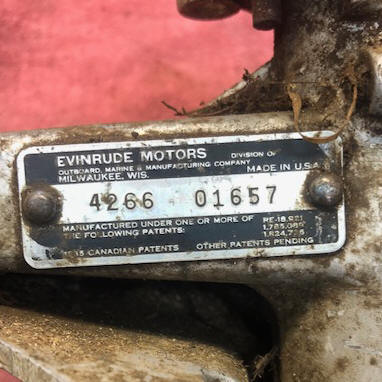
| Here you see the flywheel & the starter ID plate | Here the ID model/serial number palte |
 |
 |
Upon disassembling this jewel, a few screws resisted being awakened from their long nap. The worst ones were the connecting rod screws. Here some previous DIY repair persons, wallowed out the screw slots in the heads. Along with them being put in from the piston side, there was not a lot of straight on leverage because of the piston interference. OK, remove the wrist pin and take off the piston. Still not a lot of gain. And penetrating oil did little to help. So fire up my Oxygen/Acetylene torch and heat the rod cap, then let it set for a day with more penetrating oil.
On the next try, I found a different screw driver that the blade fit the screw head slots better. With the aid of a 8" Crescent wrench on the square screwdriver shank, I finally got them to start unscrewing. But they went hard all the way, because of burrs at the edges of the slots, probably from someone hammering on them screwdriver, trying to break them loose. For replacement screws I will try to find Allen head #10-32 x 5/8" long.
It appears that the connecting rod is made of bronze, therefore making a stronger connecting rod than if it was aluminum. And giving for stronger/better lubricated bearings.
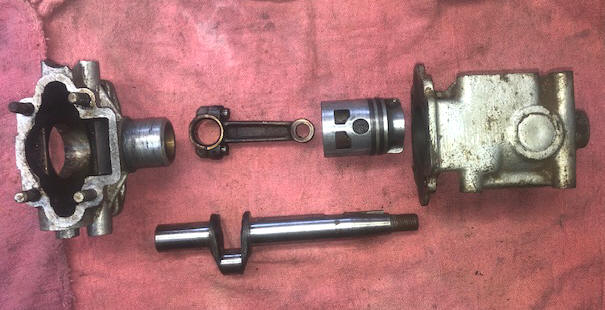
With all it's neglected history, the crankshaft bearing journals showed some amount of rust. However, by putting it in a metal lathe and using emery cloth, they came out surprisingly well. Not good enough for a Hot Rod car engine, but for what this motor will be asked to do, it will do fine.
In the photo below, you will notice the piston's ported intake holes.
| Here you see the disassembled powerhead |
 |
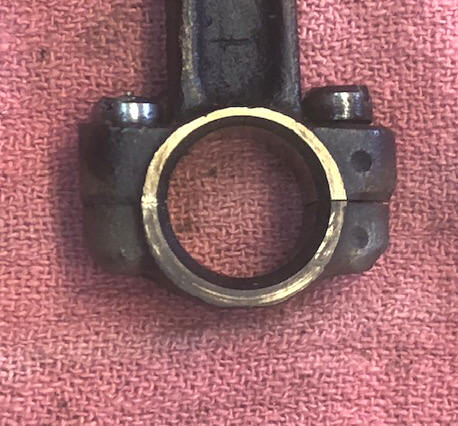
All connecting rod caps need to be returned in their original bored/aligned position to the rod. Usually there is some marking to indicate this, these were no different as at one side both the rod and the cap have a cast in detents as seen in the photo below.
| Here you see the alignment detents on the connecting rod & cap |
 |
Carburetor : Upon disassembling this carb, one cover screw was seized, so I heated the body where the threads were with my torch, and soaked it with penetrating oil for a day, and I managed to get it loose. This motor does not use reed valves behind the carburetor, but a poppet valve on the outlet of the carb, (something that I have never encountered before).
| Here you see the carburetor laid out parts |
 |
Electronics : When getting into the parts under the flywheel, not so good. Both the coil and condenser were non functioning. The coil spark plug wire was broke off in the coil output location, with about 1/2 of the strands poking out. There was just enough to test it by, however, but totally DEAD. Now a lot of looking to find replacement parts for this 75 year old motor.
Not sure how it will run even after I find parts, as the magnets in the flywheel seem a bit weak.
| Here you see the magneto and related parts |
Lower Unit/Gearbox : Here this lower unit appears to be very close to the Neptune Mighty Mites that was copied off this one.
Copyright © 2023 LeeRoy Wisner All Rights Reserved
Back to the Main Ramblings Page
Originated
02-16-2023, Last updated 02-18-2023
contact the author click here