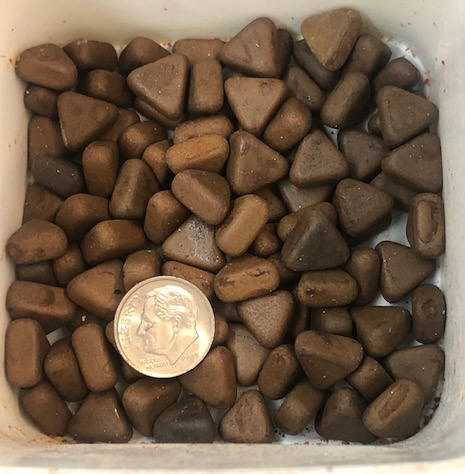
| Here you see the stones used for this operation, with a dime shown for size reference |
 |
OMC, outboard motor, outboard motor repair, 9.9, 15 hp, date/year of manufacture, water pump, carburetor, long shaft, 15 hp conversion, sailmaster
|
How to Remove Stale Gas / Rust From Fuel Tanks |
|
For those of us who try to restore old outboards, or any old motor that uses gasoline as a fuel, one large problem is when you unscrew the fuel tank cap, just what do you see inside? Hopefully it is bright and clean. However that rarely happens. Depending on how much fuel was left in the tank, and how long it was there, could vary from (1) Not bad, to (5) Rusty and REALLY BAD, or (7) REALLY REALLY BAD.
Here is is a good idea to have a few small cork stoppers of different sizes, and use them to plug the outlet lines after you remove the tank.
How do you go about cleaning this
inside of the tanks ?? The first thought was sandblasting, but
trying to remove ALL of the sand would be about impossible. I
decided to try something else, pea gravel and water inside the tank and shake
the tank OFTEN, allowing the gravel to abate down the debris inside.
This prove a doable situation, but in searching for better mouse trap, I then
tried paint stripper diluted with water, which also did OK. However the
next time I tried this, using a different stripper it proved disastrous.
Apparently this stripper was not water compatible and I wound up with a somewhat
HARD substance glued to the inside of the tank.
OK, try something of a lesser chance of a problem.
Pea gravel and gasoline works. However my favorite as of now, are small
triangular abrasive stones that are used in the
metal manufacturing industry in a tumbler to debur metal parts, and I mix them in with Acetone.
| Here you see the stones used for this operation, with a dime shown for size reference |
 |
Using this combination, volume of the abrasive stones
seems somewhat critical, as too much seems to deter or slow the action.
I have found on an average older fuel tank that is mounted on these old motors,
about one hand full of stones is adequate, mixed with about a pint of liquid.
At a recent Antique Outboard Motor Club meet, a member also suggested (if it is steel tank) to use a mild (2%) solution of Muriatic acid for 10 minutes, then thoroughly flush with water. But do not sandblast as you cannot get all those particles of sand out.
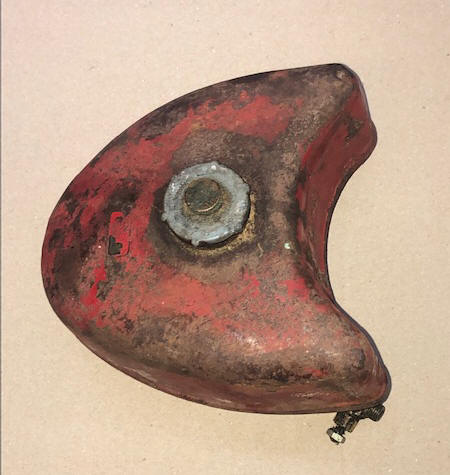
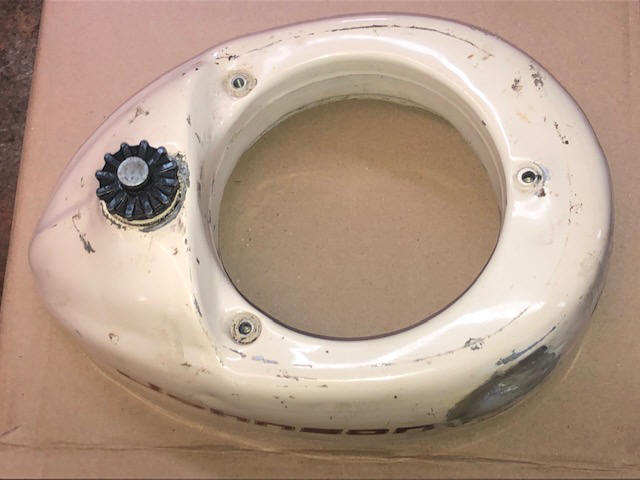
| Here you see a Neptune Mighty Mite tank being cleaned | Here you see the 3 hp Johnson tank described below |
 |
 |
Here you want to plug the outlet hole and tighten the screw
on cap. This may take a while depending on the severity of your situation.
I simply load the tank and set in in my shop, every time I pass by, I shake it in
all directions for a couple of minutes. Usually the gunked up ones
clean up pretty well within a few days. Rusty ones take longer.
But even if you do not get all the rust off, you have at least removed enough so
that the looser rust has been worn off and any left does not really effect the
carburation.
You can inspect your work by a flashlight. When
done, dump all the contents out (saving the stones). If some stones are left in the tank, I
use a mechanics 4 fingered pickup tool to individually remove any left in.
Then flush the tank out with gasoline, reinstall it and you are ready to go.
On the tank above using paint
stripper and water, I was able to finally get that stuck goo softened enough to
finally get most of the goo out by using the abrasive stones and Acetone (and more
than one replacement of acetone). BUT also I had to use a long handled
screwdriver, a flashlight, and visually scrape some the stuck goo loose, more shaking
and scraping, then using the pickup tool, reach in and remove chunks of the
semi-hardened goo.
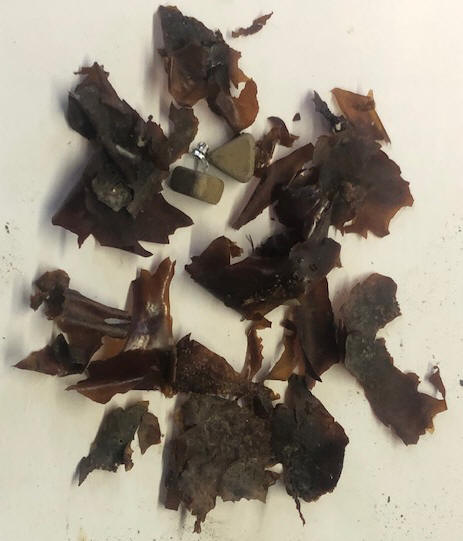
In the photo below, you can still see 2 of the abrasive
stones that came out with the goo.
| Here you see the result of my screw up that I finally removed from the tank |
 |
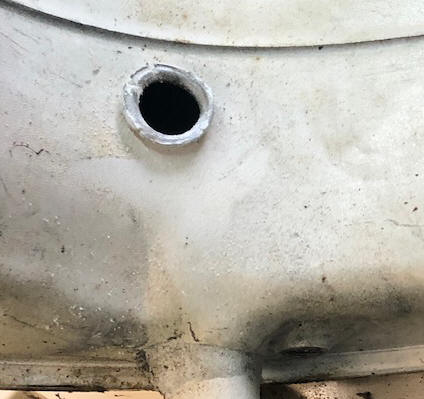
One other aspect that I have used is where the fuel tank needs to be welded. Instead of gasoline, use rubbing alcohol, as when you are done, the alcohol evaporates, leaving no explosive vapors inside. This needed to be done in a 1964 Johnson 3hp motor that someone missed the firing range backstop apparently with a 9mm pistol bullet.
In the photos below, it is pretty self expletory, except to the seller when I questioned him. The good thing the bullet hit the flywheel dead center, so a luck would have it, no damage was done to either the starter or the magneto. On these the holes, they were cleaned up and a small circular 25 cent sized patch was Heliarc welded on to cover the holes. FYI the entrance hole was .366" (about right for a 9mm).
| Here you see the bullet hole going in | Here you see the bullet hole going out |
 |
 |
This Page Under Construction
Back to the Main Ramblings Page
Copyright © 2022 LeeRoy Wisner All Rights Reserved
Originated 03-25-2022, Last updated
05-28-2022
to contact the author click here